Your first deploy
From signing up to a running container with a URL, in about five minutes and without touching Kubernetes.
On this page
Before you start
You need a container image that listens on a port, or a Git repository klickops can build for you. Nothing else: no cluster, no kubectl, no YAML.
If you only want to see it work, nginx:1.27-alpine on port 80 is a container that starts in seconds and serves a page.
Sign up and name your organization
Sign in with the email address you signed up with: klickops emails you a 6-digit code, so there is no password to set. GitHub or Microsoft work too. If yours runs on a different address, sign in with it once and confirm the address you signed up with; from then on it signs you in to that account. Add a passkey under Sign-in methods on your Account page (the Account menu, then Profile) and you sign in with a touch, no email needed; that is also where your sign-in methods are listed.
Signing up drops you on one screen: name your organization, accept the terms, create. The name is prefilled from your account, so the fast path is a single click, and it stays editable if you want your real company on it.
That organization is where your plan, your billing and your people live. You will not need to think about it again for a while.
Create a project
A project is a box for related workloads: an app, its database, its domain. Give it a name that describes the thing, not the environment. shop rather than production, because separate environments are usually separate projects.
Or start from a blueprint
Open Marketplace in your organization if the app you want is listed there. Pick a blueprint, review what it will create and provide any requested settings, then install it into a new or existing project.
A blueprint is a starting point. After installation, its apps, services, domains and other resources work like anything you created by hand. If your app is not listed, continue with the manual deployment below.
Deploy the app
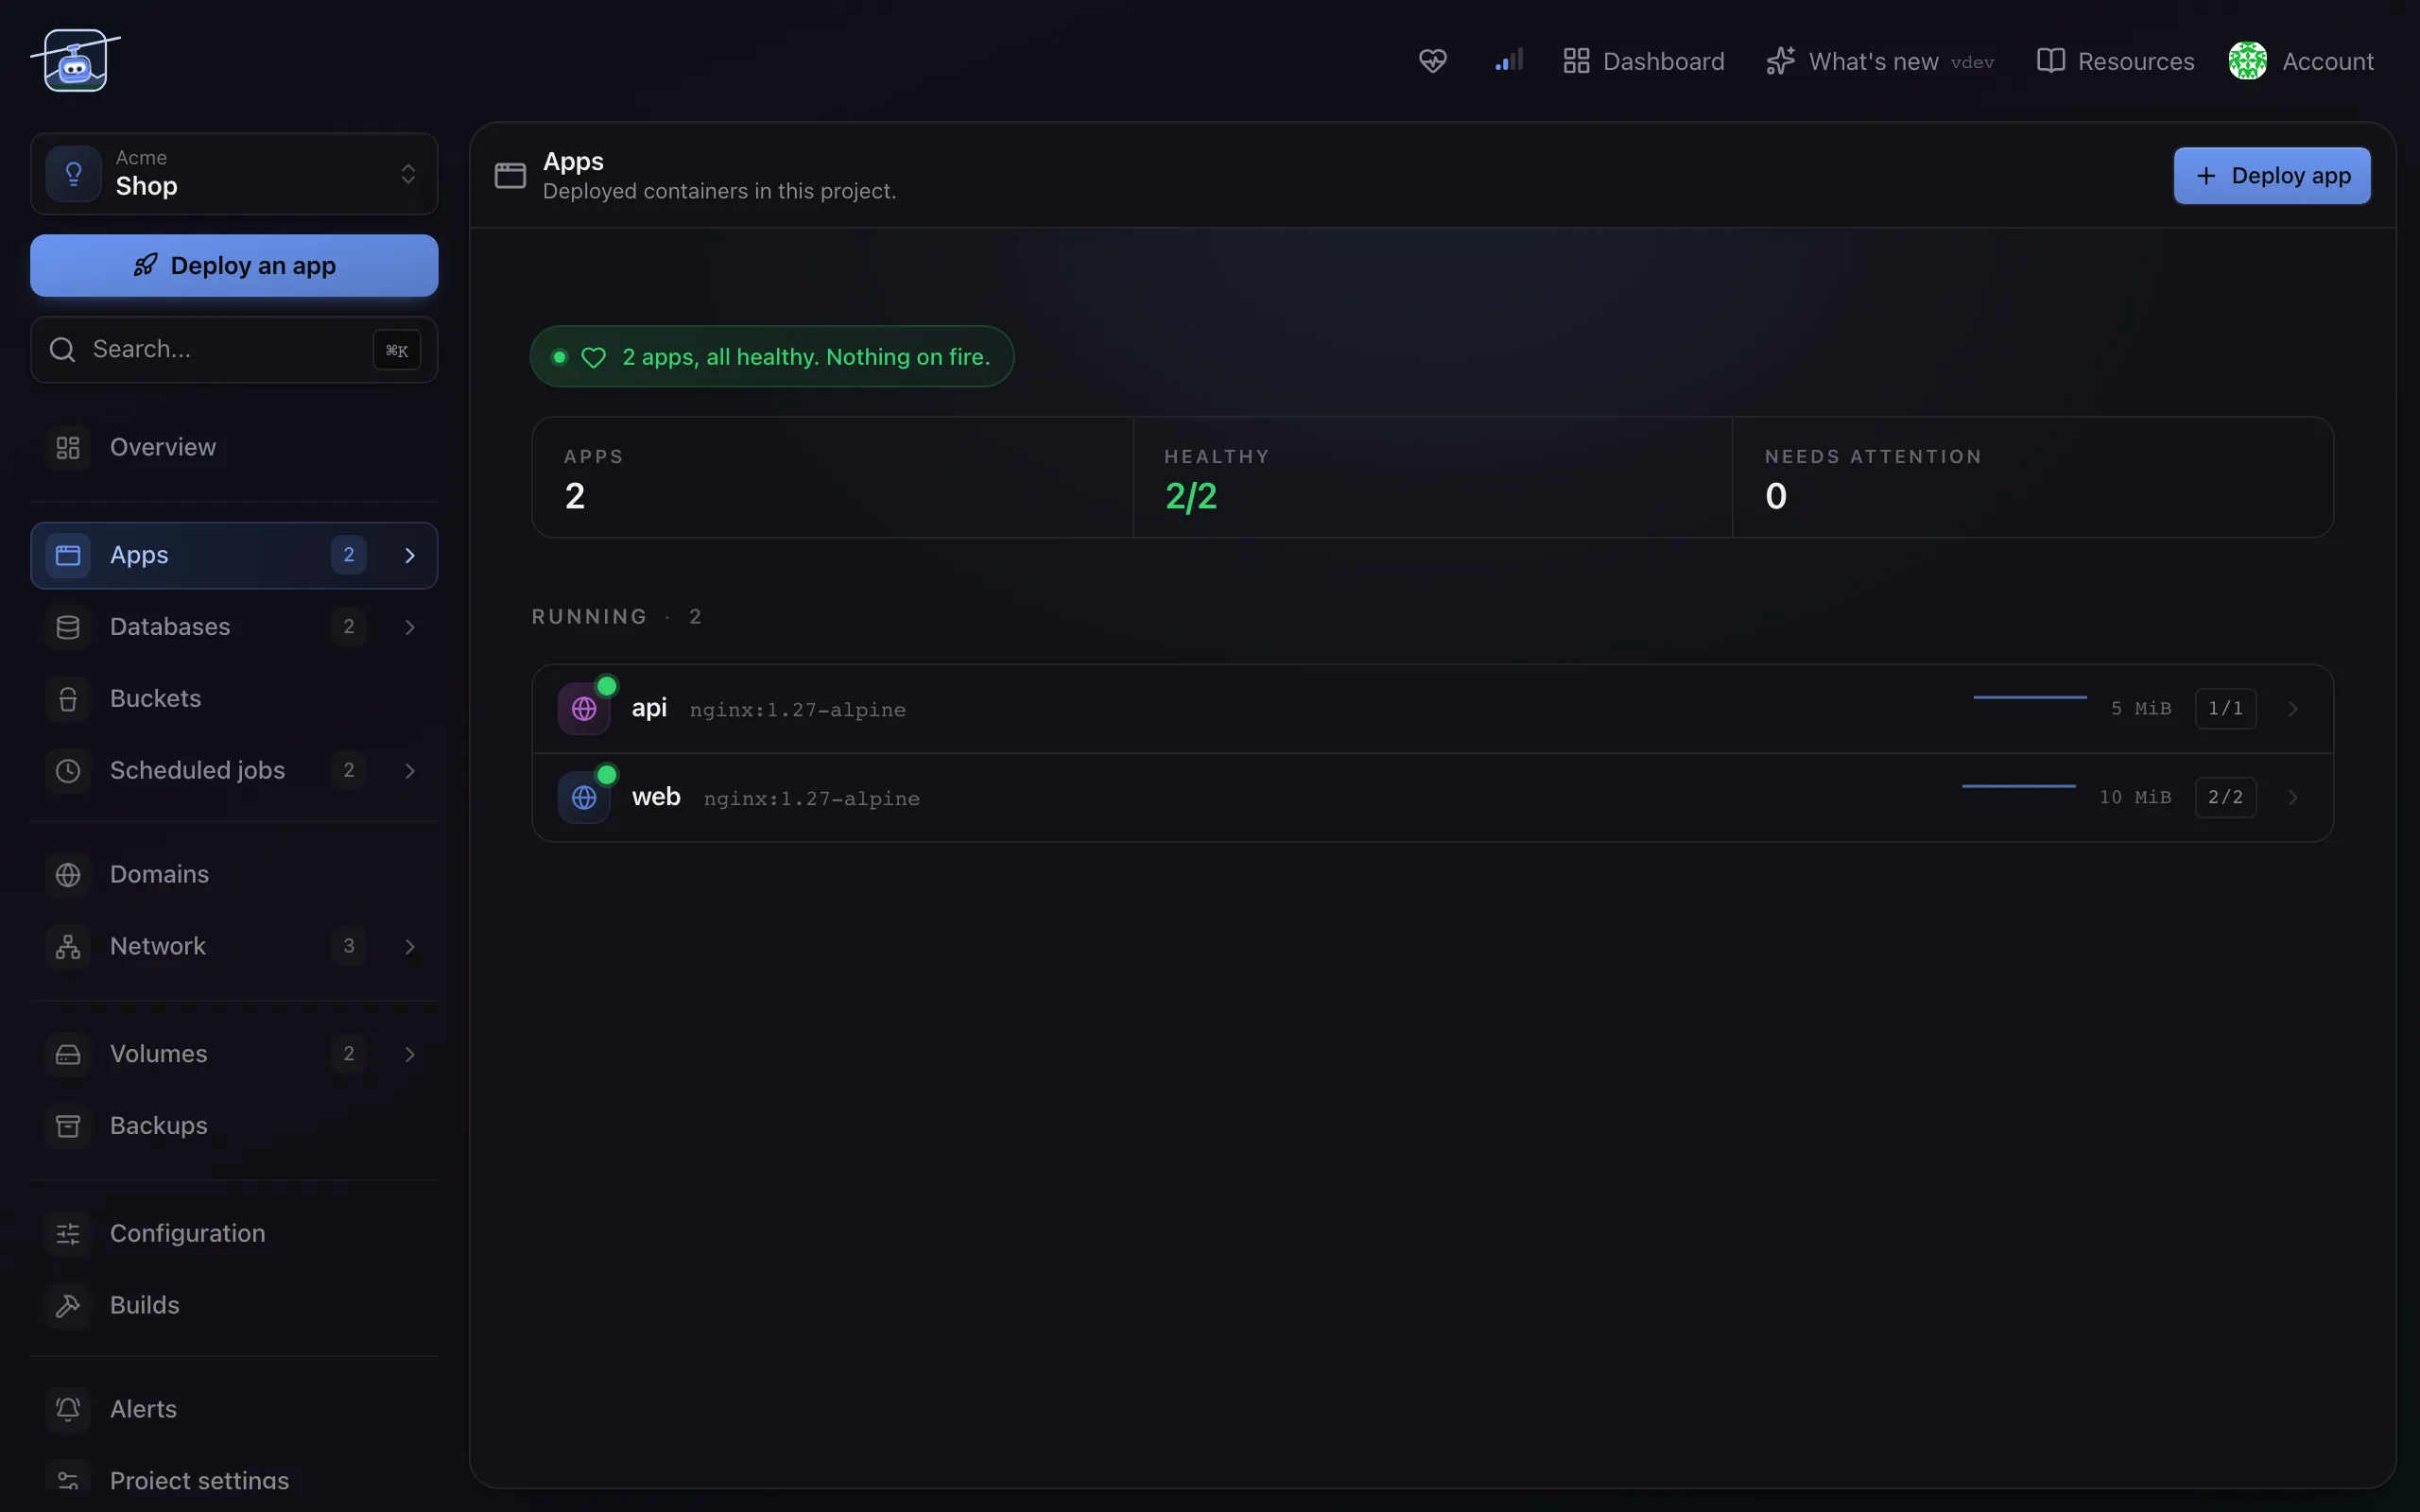
- Open the project and choose Deploy an app.
- Pick a source. Paste a container image reference, or connect a Git repository and let klickops build it.
- Check the port. klickops inspects the image and fills it in, and the suggestion is usually right.
- Leave the rest alone. One replica, a TCP health check, CPU and memory sized automatically. These are the defaults because they are what most apps want.
- Deploy.
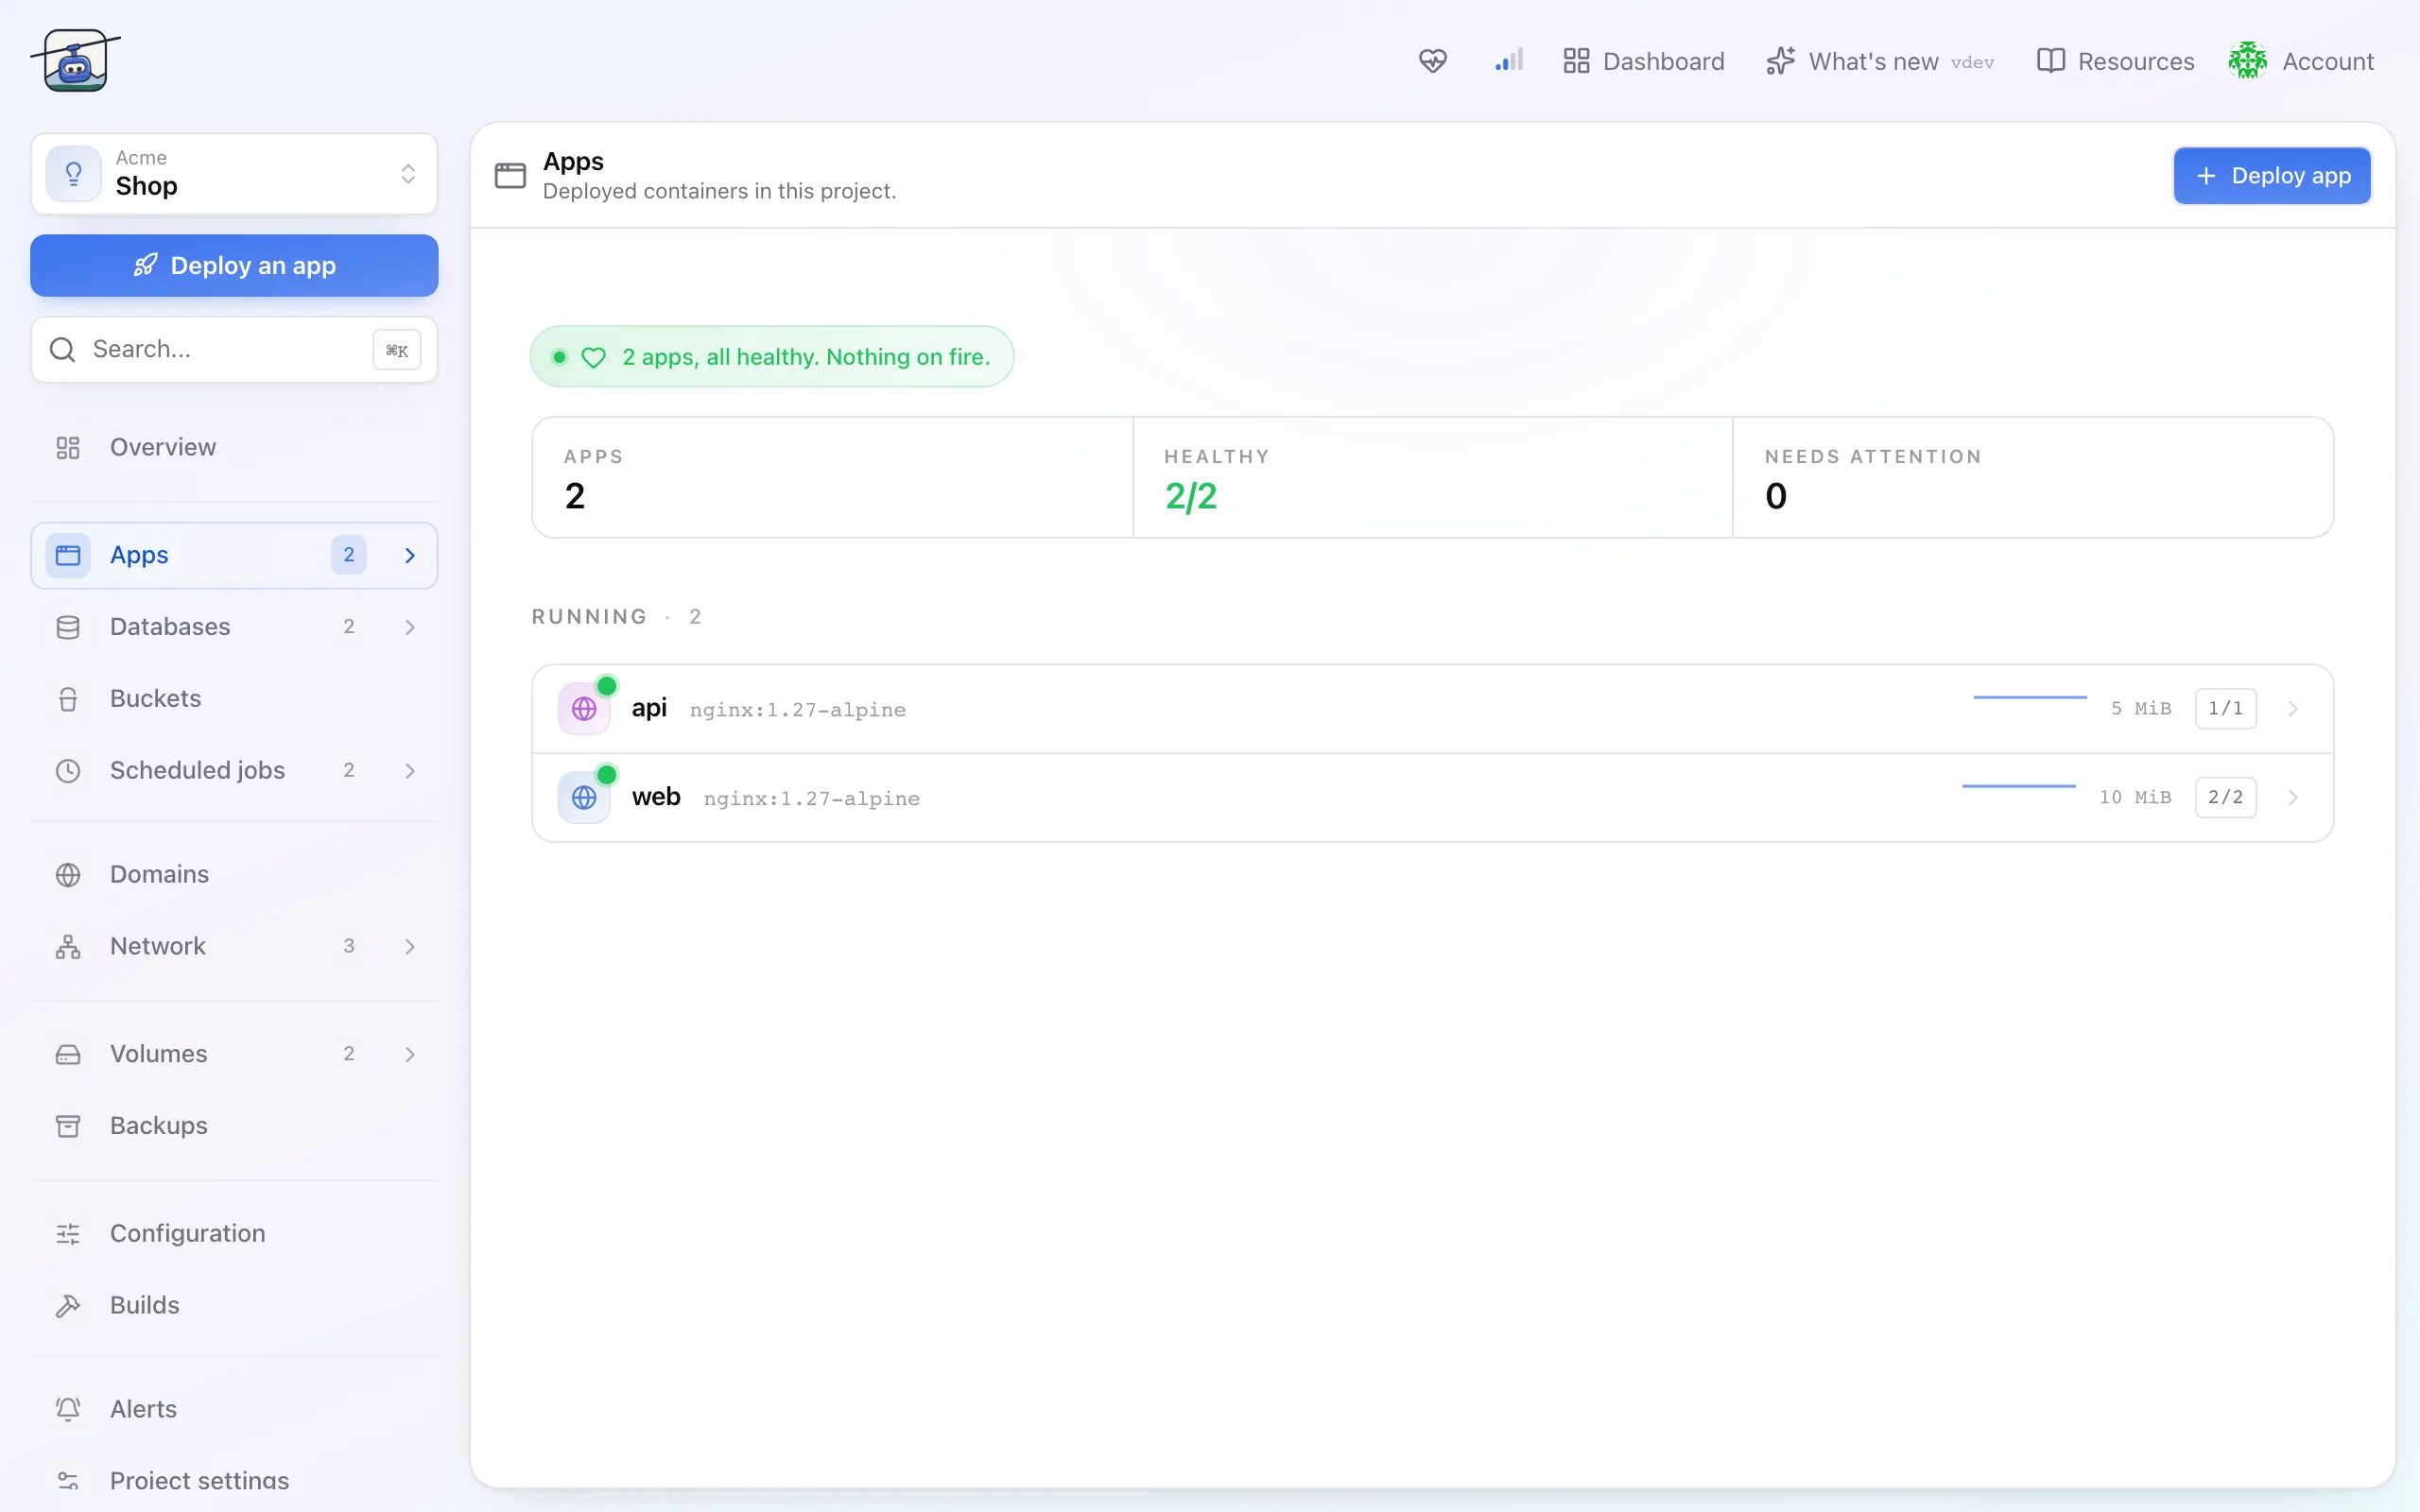
The app appears in the list and goes green in a few seconds, once the container accepts a connection on its port.
Put it on the internet
Open the app, go to Domains, choose Add domain and keep klickops subdomain selected. You get a hostname that resolves immediately with a certificate already valid, and no DNS to configure.
Your own domain is the same dialog under Your own domain. Your organization verifies the domain once under Domains with one DNS record; then you create the CNAME klickops shows you and wait for the check to go green. See Domains.
What to do next
- Give it a database and let klickops inject the credentials, rather than pasting them into a secret. See Databases.
- Read Organizations, projects, workloads if you want the mental model before you build more.
- Everything the UI does, the
klopsCLI and the API do too. Nothing here is a dead end.
The free plan is one project, one app and one database, with a single replica each and no custom domain. You will hit that quickly if you are building something real, and the limits are enforced when you create, not when you are billed.